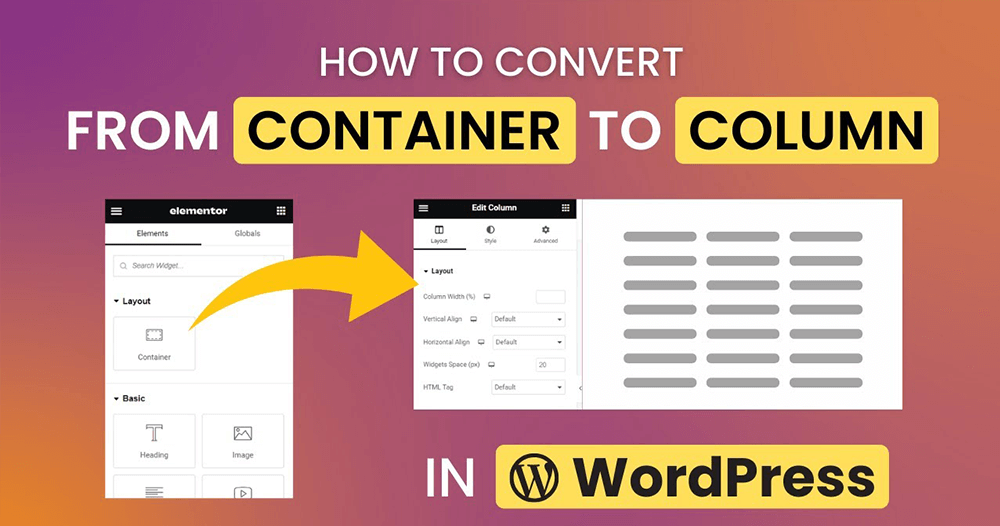
WordPress, with its vast ecosystem of themes and plugins, has established itself as a premier platform for building and customizing websites. One common challenge many users encounter is transitioning elements from a container format to a column layout. In this blog post, we’ll guide you through the process of “how to convert from container to column WordPress”. With this knowledge in hand, you can optimize your website’s design and functionality.
1. Understanding Containers and Columns
Containers: Simply put, a container in web design terminology is a “box” that wraps around content, often used to control the width or alignment of the elements inside it.
Columns: Columns split content into vertical sections. They’re immensely handy when wanting to present information side-by-side.
2. Reasons to Convert
- Responsive Design: Columns often adapt better to different screen sizes, making your website mobile-friendly.
- Better Content Presentation: Columns can make content, like images and text, appear more organized.
- Versatility: Multiple columns provide options for diverse layouts, from portfolios to product showcases.
3. Steps to Convert from Container to Column in WordPress
a. Using the Gutenberg Editor
- Edit your post or page: Navigate to the WordPress dashboard and choose the post or page you wish to edit.
- Locate the container: Scroll to the section where your container is placed.
- Add a columns block: Click on the “+” symbol (add block) and select the “Columns” block.
- Drag and drop content: Now, move your content from the container into the columns. Gutenberg’s intuitive drag-and-drop interface makes this simple.
- Adjust column width: Click on the column to select it. A slider will appear allowing you to adjust its width.
- Preview and publish: Always preview changes before hitting the publish button.
b. Using a Page Builder (e.g., Elementor, Divi)
- Open your editor: Navigate to the post or page you want to edit and open it in your page builder.
- Find the container widget: Select the container that holds your content.
- Insert a columns widget: Search for a ‘columns’ or ‘grid’ widget in your page builder’s widget list and drag it to your desired location.
- Migrate content: Move the content from the container widget to the columns widget. Most page builders allow you to simply drag and drop.
- Stylize as needed: Adjust column gaps, margins, and other stylistic choices as per your requirement.
- Update your page: Save your changes to update the content on your live site.
4. Common Pitfalls and Their Solutions
- Misaligned content: Ensure that all content within your columns has consistent padding and margins.
- Responsive issues: Check how your columns look on various devices. Adjust settings for mobile or tablet views as needed.
- Overcrowding: Don’t cram too much into a single column. If it looks cluttered, consider redistributing content or adding more columns.
5. Best Practices for a Seamless Conversion
- Consistency is key: Make sure that your columns are consistent in terms of width and style.
- Keep it simple: Especially if you’re new to columns, start with a basic layout and gradually introduce complexity.
- Test on multiple devices: Always check your column layout on various devices to ensure it’s responsive.
Conclusion
Converting from containers to columns in WordPress can seem daunting, but with the right tools and approach, it’s a straightforward process. By following this guide, you’ll be able to enhance the presentation of your content, ensuring a better user experience for your site visitors. As always, remember to prioritize quality and originality in all your web design endeavors.